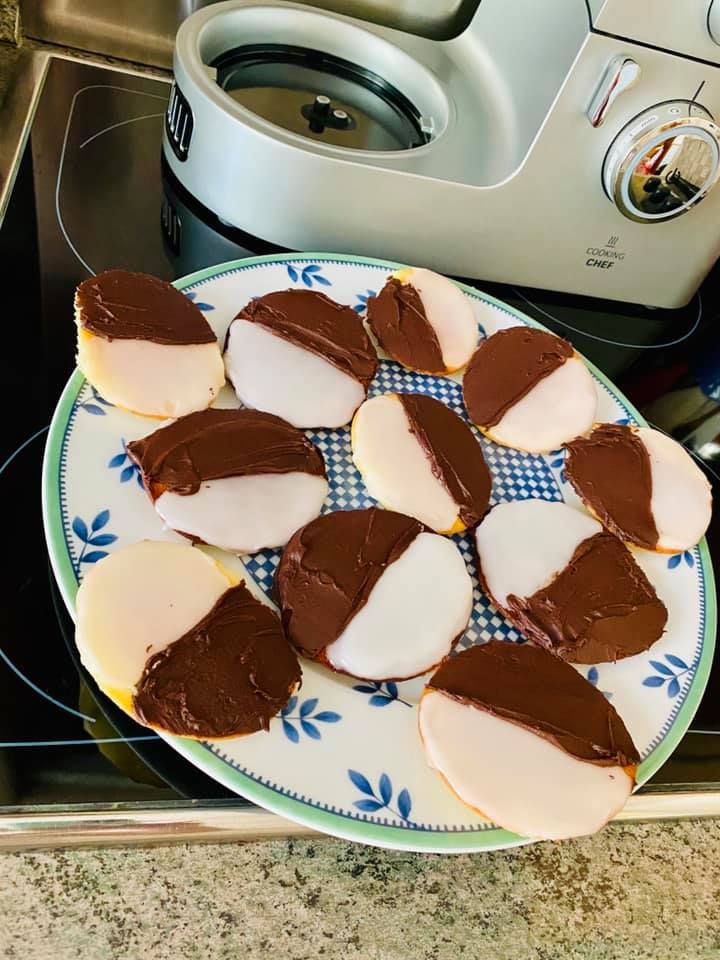
Black and White cookies recipe, New York in two colors
Black and White cookies are delicious New York biscuits with striking half-vanilla, half-chocolate icing. Follow our recipe to make them at home. Easy to bake!
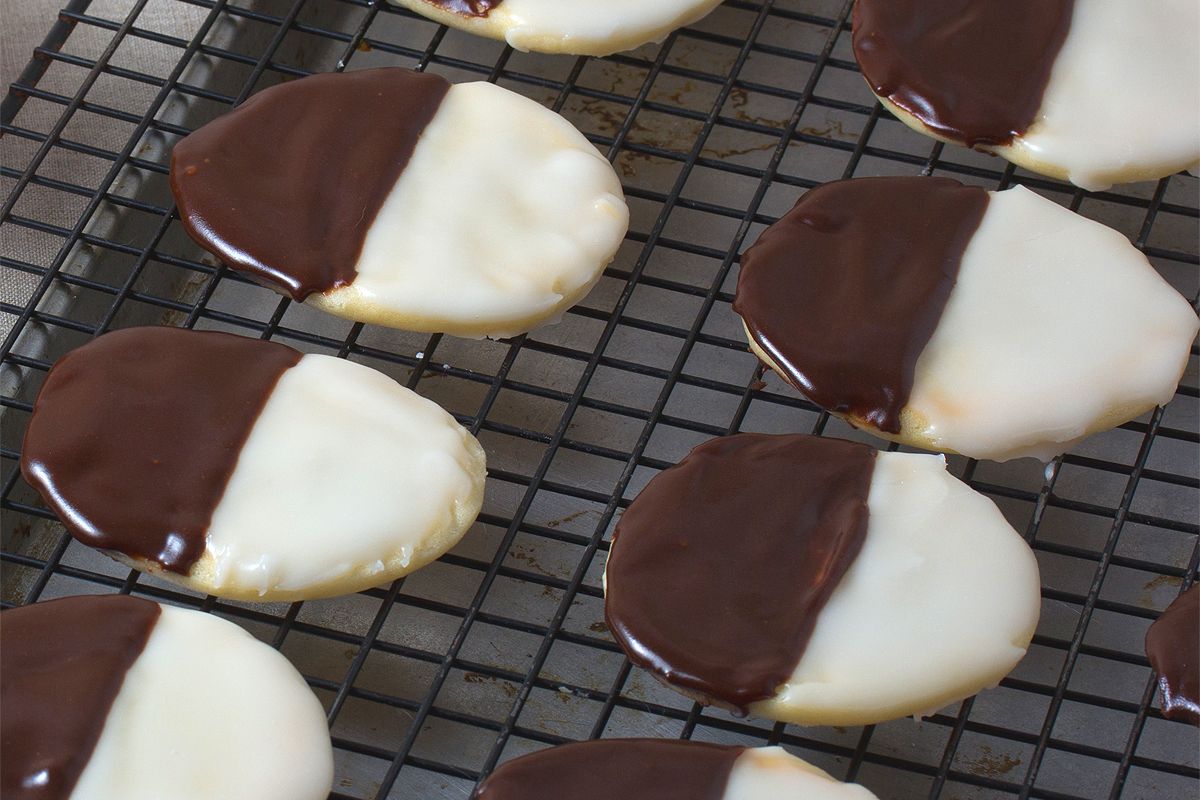
The Origin of Black and White Cookies
- If you’ve visited New York, you’ve seen Black and White cookies on the counters of delis, diners, and bakeries. These round cookies stand out with their glossy black and white icing—half vanilla, half chocolate.
- German immigrants from Bavaria brought these two-tone cookies to New York in the early 20th century. Today, you’ll find them in Germany under the name “Amerikaner”—the American. Full circle!
- Authentic New York Black and White cookies are made with a dough that sits between sponge cake and shortbread—a crisp, eggless cookie. This firmer texture makes icing easier while still melting on your tongue.
Ingredients for 12 to 14 Black and White Cookies
- 145 g (5.1 oz) flour.
- 100 g (3.5 oz) sugar.
- 1 large egg.
- 60 ml (¼ cup) buttermilk. If unavailable, mix 2/3 whole milk with 1/3 sour cream. Buttermilk is the key to a truly successful Black and White cookie—it gives you the right texture and deeper flavor.
- 55 g (2 oz) butter, at room temperature.
- 3 tablespoons lemon juice.
- 2 teaspoons lemon zest.
- 1 teaspoon almond extract.
- ½ teaspoon baking powder or 7 g (0.25 oz) active dry yeast.
- ½ teaspoon pure vanilla extract.
- 30 g (1 oz) dark chocolate chips.
- 2 tablespoons pure cocoa powder.
- 5 to 6 tablespoons boiling water.
- 300 g (10.6 oz) powdered sugar.
- Salt.
Recipe Steps
- 1/ Preheat your oven to 180°C (350°F).
- 2/ Line a baking sheet with parchment paper or a silicone baking mat.
- 3/ Mix the flour, baking powder, and a good pinch of salt. Sift everything together.
- 4/ In a bowl, whisk the butter and sugar until light and smooth.
- 5/ Add the egg and continue whisking.
- 6/ In another bowl, combine the buttermilk, lemon zest, vanilla extract, and almond extract.
- 7/ Add a portion of the flour mixture to the butter and sugar, then whisk. Add some of the buttermilk mixture and whisk. Continue alternating flour and buttermilk, whisking after each addition, until everything is combined.
- 8/ Drop equal portions of dough onto the baking sheet. You can use an ice cream scoop, piping bag, or a sturdy tablespoon—drop the dough in one quick, firm motion to form a circle about 3 to 4 cm (1.2 to 1.6 inches) across. Leave 5 cm (2 inches) between cookies, as the dough will spread during baking.
- 9/ Wait a few minutes before baking to let the dough spread slightly.
- 10/ Bake for exactly 14 minutes. The cookies should be very lightly golden.
- 11/ Transfer the cookies to a cooling rack, flipped upside down, and let them cool completely.
- 12/ Now for the icing! Tip: Start with vanilla and finish with chocolate. This makes it easier to create a clean line between the two.
- 13/ To make the vanilla icing, pour the powdered sugar into a bowl.
- 14/ Add 3 to 4 tablespoons of boiling water and stir vigorously until you have a thick yet pourable consistency. Be careful: if the icing is too thin, it won’t stick; if it’s too thick, it will crack on the cookie. Add more boiling water if needed.
- 15/ Stir in the lemon juice and pure vanilla extract.
- 16/ Ice half of each cookie with the vanilla icing. Remember: ice the flat side! Hold a cookie and pour a tablespoon of vanilla icing in one quick, steady stream across the middle. Tilt the cookie so the icing covers only one half.
- 17/ Place the iced cookies on a cooling rack. Put a plate underneath to catch any drips!
- 18/ To keep the vanilla and chocolate icings separate, refrigerate the cookies for 5 minutes before applying the chocolate icing.
- 19/ For the final step, gently melt the chocolate chips.
- 20/ Stir the melted chocolate and cocoa powder into the remaining vanilla icing. The cocoa deepens the chocolate flavor. Mix well.
- 21/ Ice the other half of each cookie with the chocolate icing, using the same technique. Work carefully to create a clean line between vanilla and chocolate. Let cool for at least 1 to 2 hours before serving. Enjoy!
Good to know: You can use the same recipe and add orange food coloring to the icing to draw a pumpkin for Halloween. For Christmas, try green coloring to create a tree or any other design you like.
Storage Tips
- Black and White cookies keep for 2 to 3 days maximum in an airtight container. All the more reason to enjoy them while they’re fresh! 🙂
- You can freeze them too. Simply wrap them in plastic wrap and place them in a freezer bag. Thaw them whenever you get a craving for New York!
Send Us a Photo of Your Black and White Cookies
- Have a question or a recipe to share? Reach out to me at patricia@cnewyork.net